STUCCOHOME REPAIRCall

Blend the repair with the wall around it.

Stucco Color Matching

A convincing match depends on more than a paint formula. Texture, weathering, sun exposure, prior coatings, and the size of the repaired area all affect how the finished wall reads in changing light.

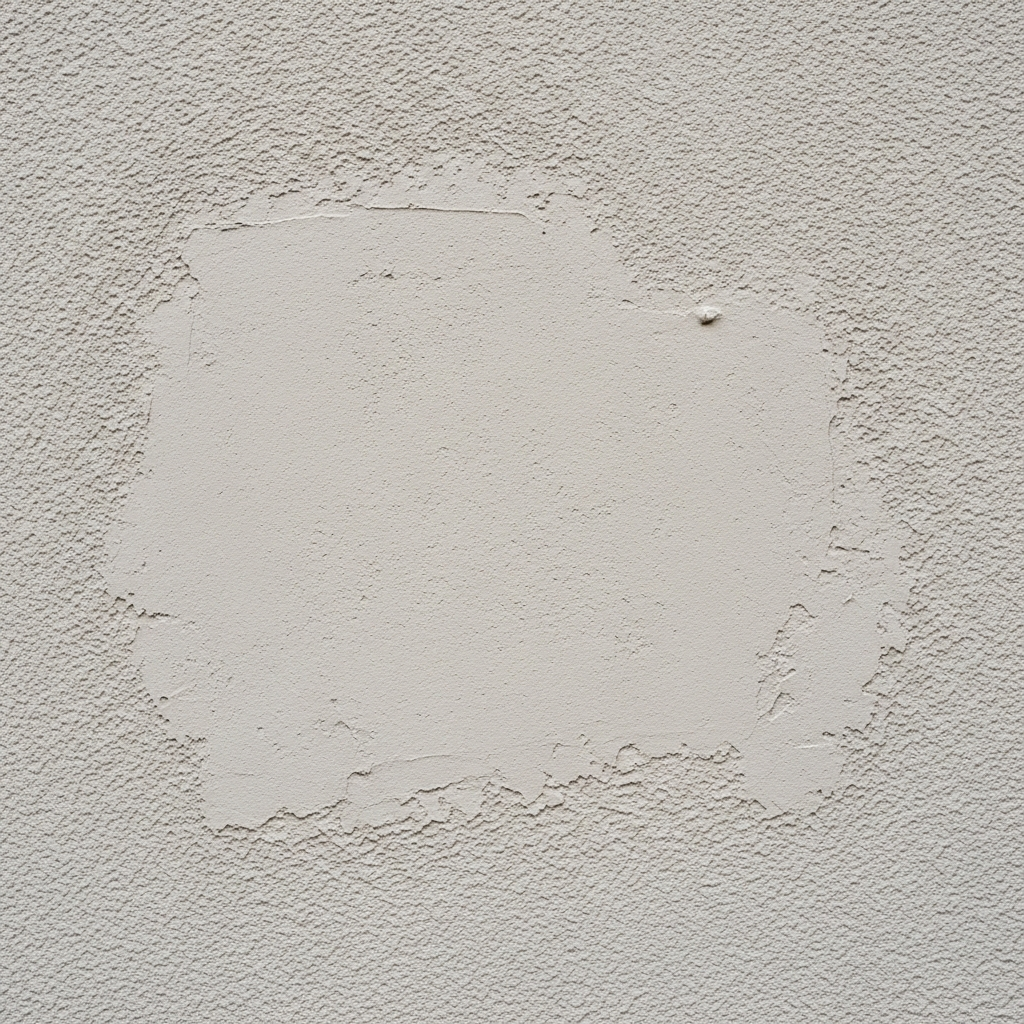
Stucco texture and color sample matched against an existing wall

Choose the right color reference

A protected area may be closer to the original finish, while an exposed area shows the color the repair must sit beside today. We account for fading, chalking, stains, algae, and older touch-ups before selecting a useful reference.

Match texture and color separately

Texture controls shadow and surface character; color controls the visible tone after curing and coating. One can be close while the other remains obvious, so both decisions need to be reviewed independently.

Set the finish boundary deliberately

A spot finish limits scope but can leave a visible edge. Blending across a larger section or finishing to an architectural break can create a more uniform result when the surrounding wall has aged unevenly.

Review the sample in real light

Morning shade, direct afternoon sun, wet weather, roof color, and landscaping can all shift perception. A sample reviewed under more than one condition sets a more realistic expectation than a single fresh comparison.

Begin with a sound repaired surface

Color matching cannot correct an unstable substrate, active moisture source, loose patch, or recurring crack. The wall condition has to be evaluated and the repair completed with compatible materials before appearance becomes the final decision. Otherwise a carefully selected finish may discolor, crack, or separate as the unresolved condition continues. The sequence should distinguish substrate repair, texture matching, curing, primer or coating requirements, and final color work. Keeping those steps separate also makes it clearer which part of the proposal addresses durability and which part addresses visual blending.

Understand why existing color varies

One elevation can contain several versions of the same original color. Direct sun may fade upper walls, irrigation can stain lower sections, roof runoff can darken one path, and sheltered areas may retain a richer tone. Chalking, algae, repairs, cleaning, and earlier paint touch-ups add more variation. A color reading from one small spot may therefore be misleading. The useful reference is the area the new finish will actually meet, considered alongside the homeowner's goal for the whole wall. Sometimes the current weathered color is the right match; sometimes a broader finish area is the better answer.

Texture controls how color is perceived

Stucco texture changes the amount and direction of shadow across the surface. A smoother patch can look lighter and flatter even when its coating formula is close, while a deeper pattern can appear darker. Aggregate size, tool movement, application pressure, and the transition at the patch edge all influence the result. Texture should be compared at normal viewing distance as well as up close. The objective is not merely to copy one ridge but to reproduce the overall density, direction, and scale of the surrounding finish before color is judged.

Curing affects the final appearance

Fresh cementitious material can look darker or lighter while moisture leaves the repair, and premature coating can interfere with the intended cure. Weather, wall orientation, repair depth, and the selected product affect timing. The project plan should identify when texture and finish comparisons will be meaningful instead of treating the wet application as the final color. If a sample is used, it should be prepared on a comparable surface and allowed to develop according to the material requirements. This reduces decisions based on a temporary appearance that changes after the crew leaves.

Choose between a spot, blend, or full elevation

A spot finish is the smallest scope, but it places a new surface directly against an aged one and can create a visible outline. A blended section extends the finish beyond the repair to soften that transition. Finishing to a corner, trim line, control joint, or full elevation creates the most consistent field but increases scope. The right choice depends on repair size, wall visibility, coating history, texture consistency, and the homeowner's appearance expectations. The proposal should name the intended boundary so every party is evaluating the same result.

Compare samples under more than one condition

A useful sample should be reviewed after it has dried or cured as required, from typical viewing distance, and under the light that reaches the wall during the day. Morning shade can emphasize cool tones, strong afternoon sun can wash out subtle differences, and wet weather can deepen both old and new finishes. Nearby roof tile, stone, landscaping, and reflected light can also influence perception. Photographs are useful records but screens and camera processing alter color, so the physical wall remains the final reference for an on-site decision.

What the color-matching scope should state

The written scope should identify the repaired area, texture objective, selected reference area, sample or approval process, finish product, number of planned finish areas, and the boundary where new work stops. It should distinguish a localized match from repainting or refinishing an elevation and explain any limitations created by fading, prior coatings, or inconsistent existing texture. Protection, surface preparation, curing, cleanup, and change procedures should also be clear. This documentation makes proposals comparable and prevents a small patch expectation from quietly becoming a larger refinishing project in the field.

Maintain a consistent exterior after matching

Keep the approved finish information, photographs, product details, and repair location with the property records. Clean walls using methods appropriate for the coating and avoid aggressive spot treatment that can change sheen or color. Watch nearby sealant joints, penetrations, drainage paths, and repaired cracks so a new moisture or movement issue is addressed before it stains the finish. If future work is needed, the saved reference and application history give the next contractor a better starting point than trying to reverse-engineer an undocumented patch several years later.

Prepare for a matching evaluation

Send wide photographs that show the whole elevation and close photographs of the repair, texture, and surrounding color. Note which direction the wall faces, when it receives direct sun, whether it has been painted, and whether you have old paint cans or project records. Identify the appearance goal: a localized blend, a more uniform section, or a complete elevation finish. Stucco Home Repair serves St. Augustine and Northeast Florida, with scheduling based on location, access, scope, and current availability. These details help determine the most useful first visit and sample strategy.

How to evaluate the finished match

Review the completed area from the distances and angles people normally use, not only from inches away. Look at the transition around the repair, the consistency of texture shadow, and the way the finish reads across the larger elevation. A localized repair should not be judged as though the entire aged wall were newly refinished, but obvious ridges, flat spots, or abrupt color boundaries should be discussed while the agreed scope is clear. Compare the result under ordinary dry conditions after the material has reached the review point defined for the product. If the proposal included a sample or approval step, keep that reference available during the final walkthrough. Record any accepted limitations caused by existing fading, multiple old coatings, or unrelated patches. A thoughtful final review connects the appearance back to the chosen finish boundary and prevents expectations from changing after the work is complete.

Licensed Northeast Florida contractor

Get a clear repair recommendation

Share the property location, affected wall, when the condition appeared, and whether it changes after rain. Wide and close photographs help us prepare for the first conversation.

Contact Stucco Home Repair
Call NowFree Estimate